Gemini × Tapter MCP
You can connect Tapter to Gemini as an MCP server. With Google it works differently in the CLI, in the app and in Gemini Enterprise — all of it is covered below.
By connecting Tapter to Gemini, you manage your links right in the conversation — on your behalf and without a password. But with Google it doesn’t work the same way everywhere — start with the short summary below.
Add Tapter to your MCP client at this address:
https://tapter.one/mcp
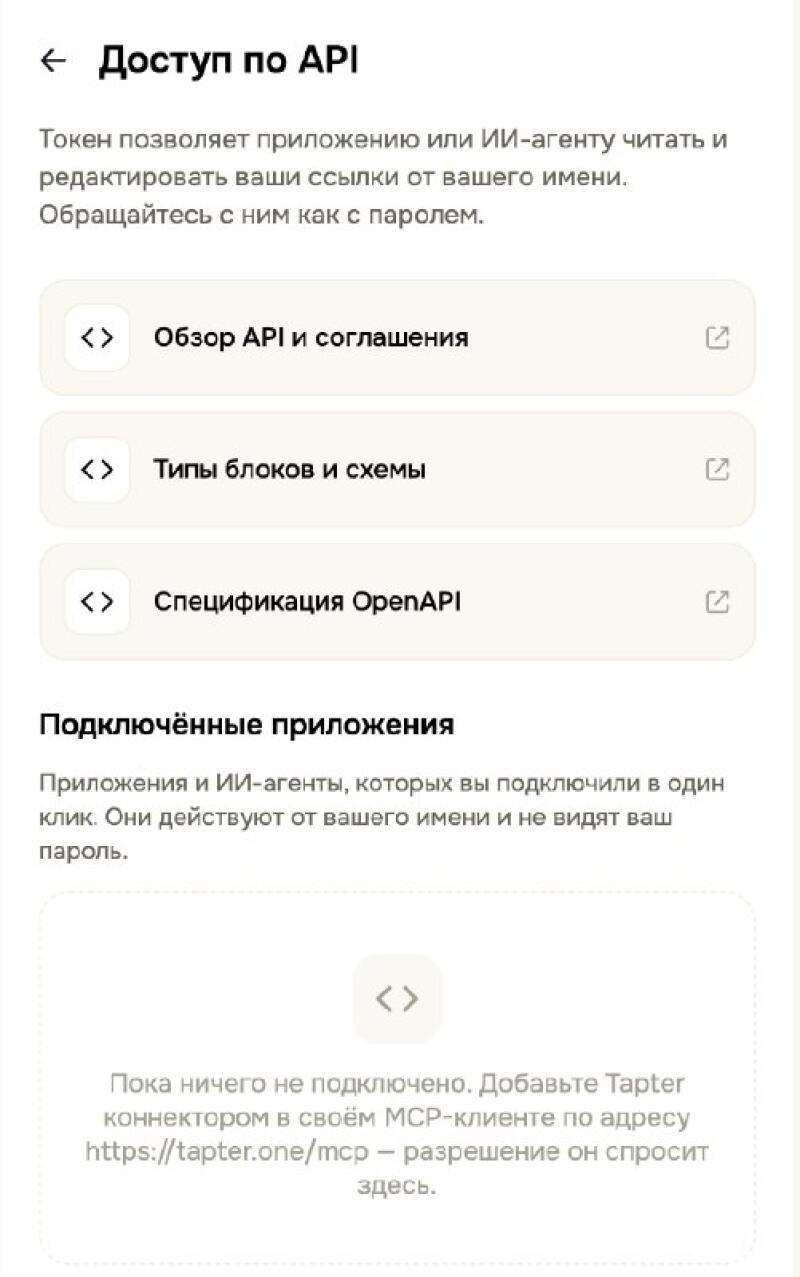
There are no tokens to type in by hand — Tapter will ask you for access itself.
One command in the terminal:
gemini mcp add --transport http tapter https://tapter.one/mcp
Or by hand in ~/.gemini/settings.json:
{ "mcpServers": { "tapter": { "httpUrl": "https://tapter.one/mcp" } } }
One thing matters: the key is httpUrl — that’s the modern transport. A url field would switch on the deprecated SSE.
Start gemini and run:
/mcp auth tapter
A browser opens with a Tapter window — click Allow. After that the /mcp command shows the server status and the list of tools.
Try it: “show my Tapter links”.
In the regular app at gemini.google.com a custom MCP server can only be added through Gemini Spark: on a computer → Settings & help → Connected Apps → Custom apps for Spark → paste the server address → grant access.
But this route has hard conditions: a Google AI Pro or Ultra subscription, a personal (not work) account, 18+, English language and being in the US. Outside the US you can’t add your own connector in the app yet.
In Gemini Enterprise (Business Edition) the team admin adds the server in Settings & help → Team → Manage team → Connected apps → Add MCP Server.
The connection is off by default — it has to be turned on for the team separately.
In Google Antigravity: agent panel → MCP Servers → Manage MCP Servers → View raw config. The key is named differently there:
{ "mcpServers": { "tapter": { "serverUrl": "https://tapter.one/mcp" } } }
Gemini Code Assist for VS Code uses the same ~/.gemini/settings.json as the CLI; you can’t add the server from the command palette — only by editing the file.
Every connected app and AI agent is visible in the Tapter app: Settings → API access. You can revoke access there at any time.